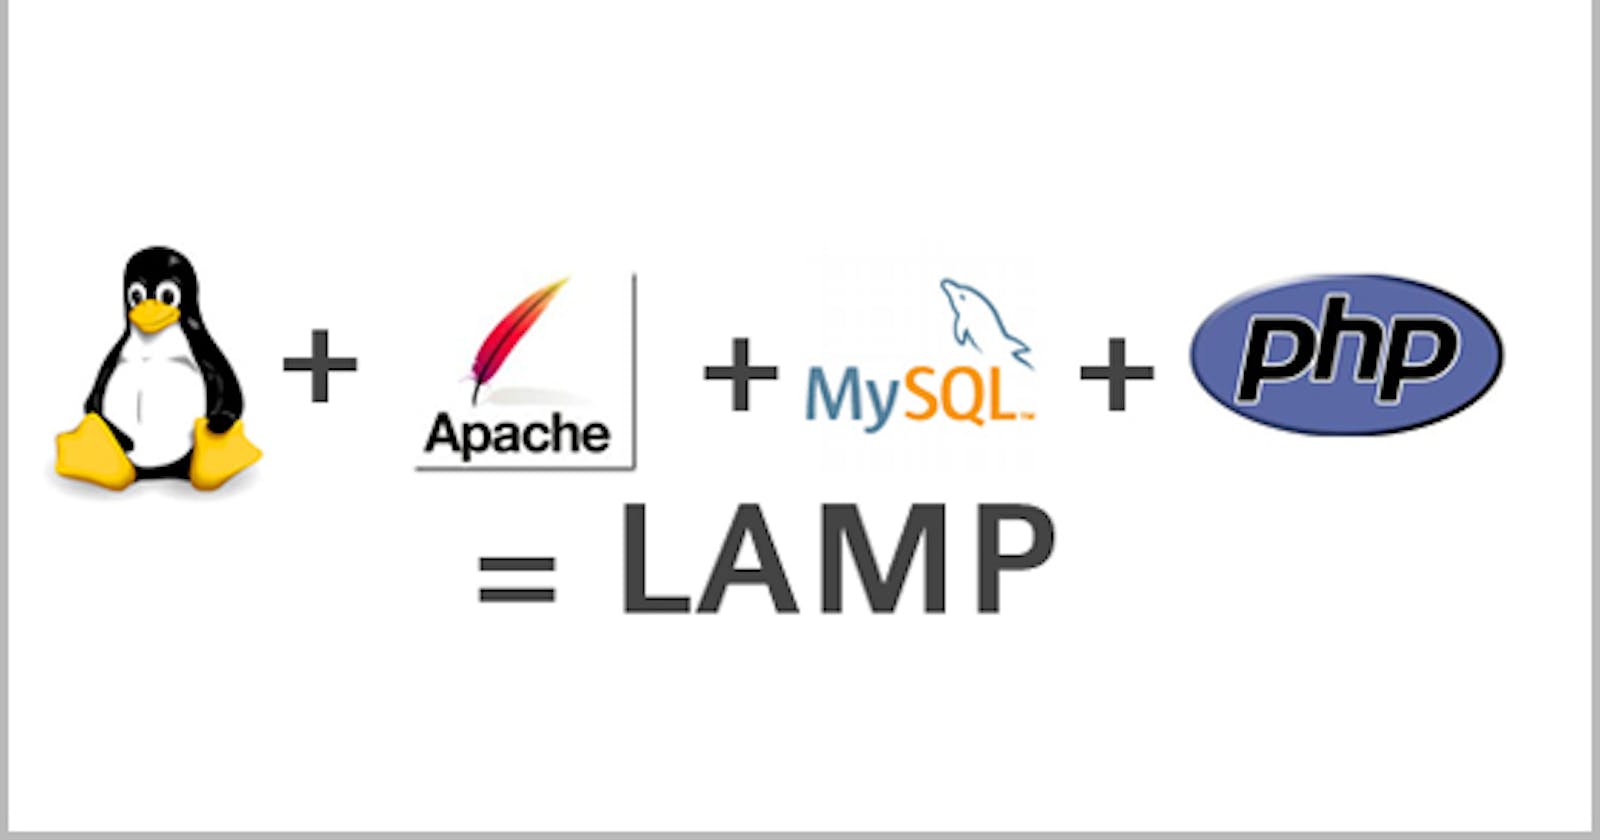


What is a Lamp Stack? A LAMP stack is a set of open-source tools used for web application development. For a web application to work, it has to include a server operating system, a web server, a database, and a programming language. Each layer of software is necessary for creating a database-driven and dynamic website. LAMP is a collection of four components that make up a fully functional web development environment. The LAMP acronym contains the initials of the components' names:
LAMP Stack Implementation (AWS)
Create an Ec2 instance
Select the region (and launch a new EC2 instance of the t2.micro family with Ubuntu Server 20.04 LTS (HVM)
Create a Key pair while creating the EC2 instance (Create a .pem key or .ppk to use ssh or putty to connect to the instance)
To connect to the Ec2 instance, using ssh on power shell, run the following command:
ssh -i "task_one.pem" ubuntu@ec.<Public-IP>.compute-1.amazonaws.com
Install Apache2 and update the firewall:
To update the list of packages in the package manager, use the following command:
sudo apt update
Run the following command for apache2 package installation:
sudo apt install apache2
To verify that apache2 is running as a Service in the OS, run the following command:
sudo systemctl status apache2

Verify that there is access locally to the server in the Ubuntu shell, using either of the following commands.
curl http://localhost:80

curl http://127.0.0.1:80
Test how the Apache HTTP server can respond to requests from the Internet.
(http://<Public-IP>:80)

MySQL installation:
1. On the command line run the following command to install MySQL:
sudo apt install mysql-server
2. Connect to mysql with the next command:
sudo mysql

3. Change the password for the root user ALTER USER 'root'@'localhost' IDENTIFIED WITH mysql_native_password BY 'PassWord.1
To secure the server run the next commands:
sudo mysql_secure_installation
sudo mysql -p
mysql> exit

Installing PHP
Apache is installed to serve content and MySQL is installed to store and manage data. PHP is the component of this setup that will process code to display dynamic content to the end user. In addition to the php package, php-mysql, will be needed. A PHP module that allows PHP to communicate with MySQL-based databases. libapache2-mod-php is needed to enable Apache to handle PHP files. Core PHP packages will automatically be installed as dependencies.
1. To install these 3 packages, run:
sudo apt install php libapache2-mod-php php-mysql
2. After installation run the following command to check the installed version
php -v
Creating a virtual host for the website using APACHE2( using projectlamp as domain name) :
1. Create a directory projectlamp:
sudo mkdir /var/www/projectlamp
2. Assign ownership of the directory with the current system user using the command:
sudo chown -R $USER:$USER /var/www/projectlamp
3. Create and open a new configuration file in Apache’s using the command line:
sudo vi /etc/apache2/sites-available/projectlamp.conf
4. Copy and paste the command below in the vim editor and save:
    <VirtualHost *:80>
       ServerName projectlamp
        ServerAlias www.projectlamp
         ServerAdmin
         webmaster@localhost
         Document Root /var/www/projectlamp
       ErrorLog ${APACHE_LOG_DIR}/error.log
      CustomLog ${APACHE_LOG_DIR}/access.log combined
   </VirtualHost>`
5. To list available sites run the following commands:
sudo ls /etc/apache2/sites-available
6. There will be a prompt to reload APACHE
sudo systemctl reload apache2
7. Run the next command to test configuration:
sudo apache2ctl configtest
8. Disable Apache default website using the command
sudo a2dissite 000-default
9. Create an index.html file in that location to test that the virtual host works as expected using the command:
sudo echo 'Hello LAMP from hostname' $(curl -s http://169.254.169.254/latest/meta-data/public-hostname) 'with public IP' $(curl -s http://169.254.169.254/latest/meta-data/public-ipv4) > /var/www/projectlamp/index.html
The new website is now active, and the text from ‘echo’ command written to the index.html file, will now be visible. This means that Apache virtual host is working as expected. The server’s public hostname (DNS name) and public IP address will be in the output. The website can be accessed in the browser by public DNS name, not only by IP – try it out, the result must be the same (port is optional).
http://<Public-IP-Adress>:80
Enable PHP on website :
1. Edit the conf file with the command:
sudo vim /etc/apache2/mods-enabled/dir.conf
2. Paste in the command:
    <IfModule mod_dir.c>
     #Change this:
     #DirectoryIndex index.html index.cgi
    index.pl index.php index.xhtml index.htm
    #To this:
    DirectoryIndex index.php index.html
   index.cgi index.pl index.xhtml index.htm
    </IfModule>
3. Reloaded Apache:
sudo systemctl reload apache2
4. Create index.php file:
vim /var/www/projectlamp/index.php
5. Add the following text, which is valid PHP code, inside the file:
    `<?php
   phpinfo();`
6. Save and close the file. Refresh. This should be your landing page:

This page provides information about the server from the perspective of PHP. It is useful for debugging and ensuring that settings are applied correctly. If you can see this page in your browser, then the PHP installation is working as expected. After checking the relevant information about the PHP server through the page, it’s best to remove the file created because it contains sensitive information about the PHP environment and the Ubuntu server. Use rm to do so:
sudo rm /var/www/projectlamp/index.php