Deploying a Static-Website with S3 bucket and CloudFront (AWS).


Amazon Simple Storage Service (Amazon S3) is an object storage service offering industry-leading scalability, data availability, security, and performance. Customers of all sizes and industries can store and protect any amount of data for virtually any use case, such as data lakes, cloud-native applications, and mobile apps. With cost-effective storage classes and easy-to-use management features, you can optimize costs, organize data, and configure fine-tuned access controls to meet specific business, organizational, and compliance requirements. S3
Amazon S3 creates bucket in a region you specify. You can choose any AWS region that is geographically close to you to optimize latency.
Amazon CloudFront is a web service that speeds up distribution of your static and dynamic web content, such as .html, .css, .js, and image files, to your users. CloudFront delivers your content through a worldwide network of data centers called edge locations. When a user requests content that you're serving with CloudFront, the request is routed to the edge location that provides the lowest latency (time delay), so that content is delivered with the best possible performance. Cloudfront
Project overview:
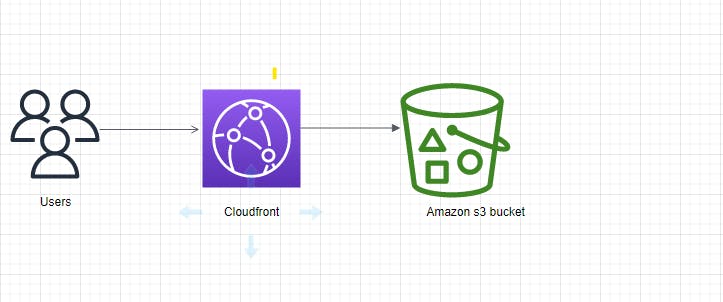
Create an s3 bucket on Aws, upload files to the bucket. Create a Cloudfront distribution. After configurations, CloudFront will reach out to s3 to deliver the website content to the user.
Architecture:
Let's crush this! 💪
Step 1. Create an s3 bucket.
You must have an AWS account to login (preferably a free tier account).
- Login to your AWS account.
- In the search bar type
s3
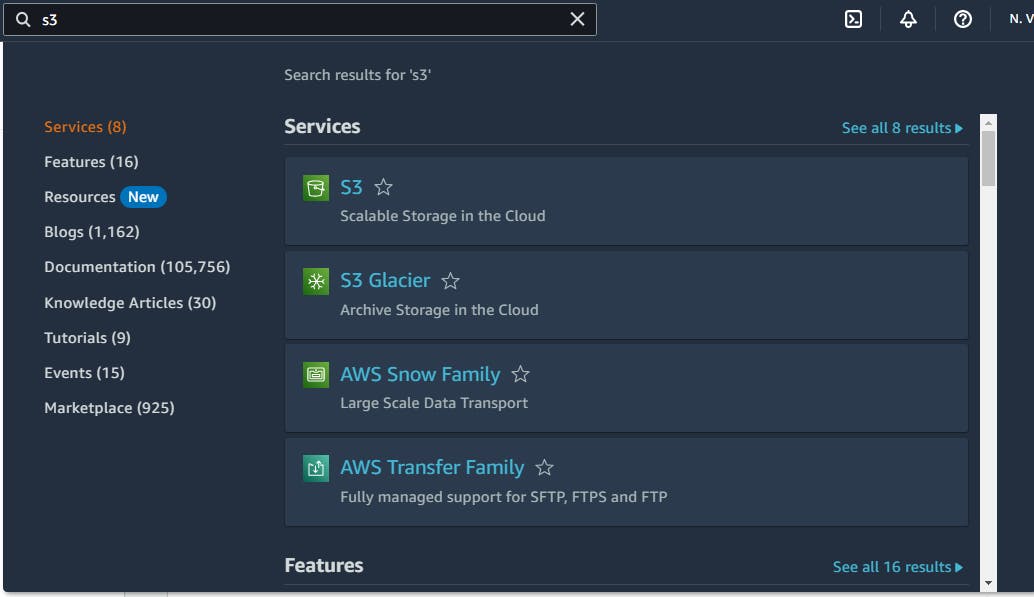
- Click on
Create bucket - Input the name of your bucket, bucket name has to be globally unique
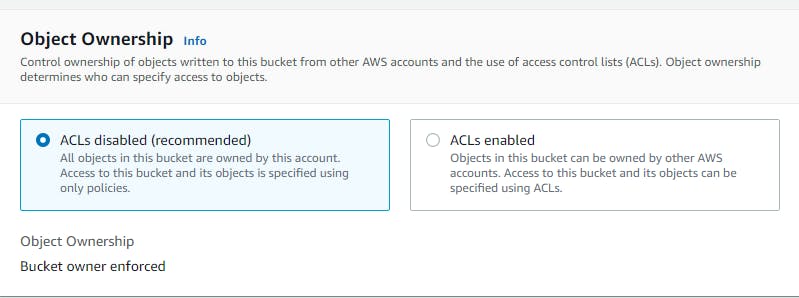
Object ownership leave as default
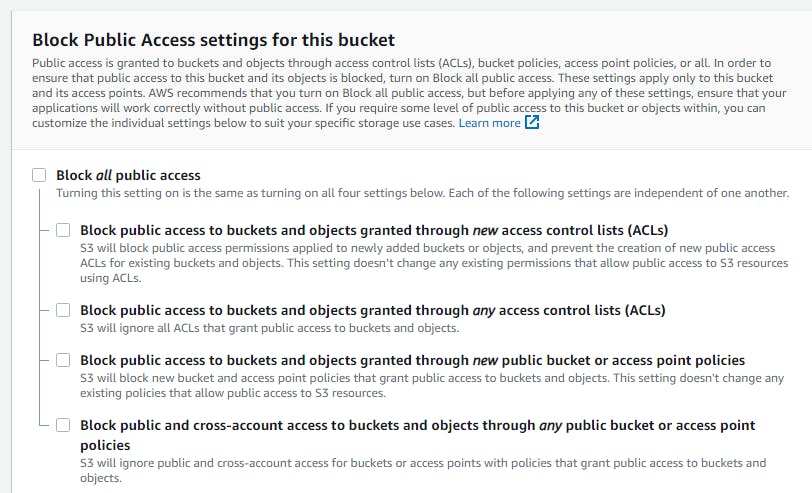
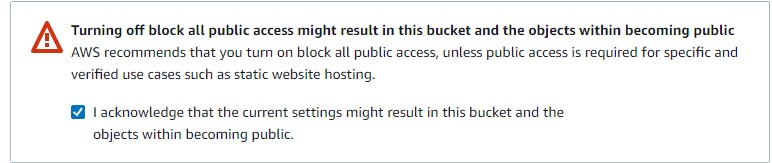
- Grant and acknowledge public access
- Click on
Create bucket

You will get this message that the bucket has been successfully created. If you don't get that message please go back and retake the steps.
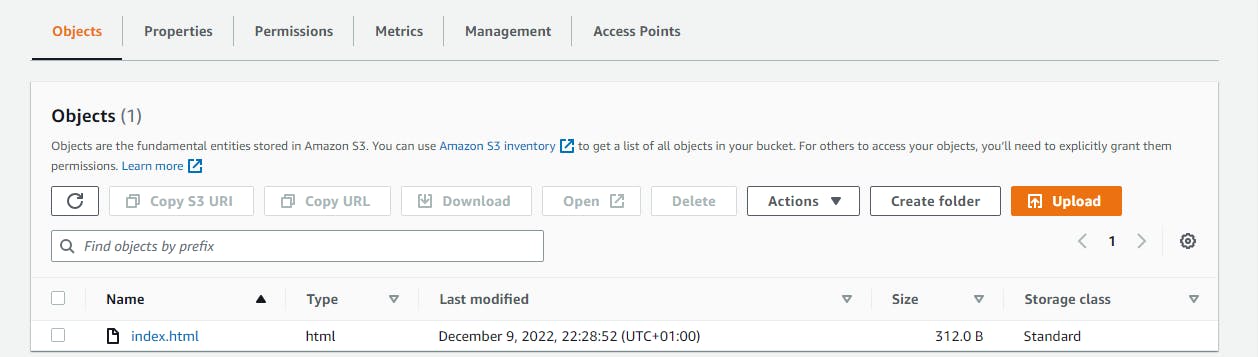
Click on the name of the created bucket
Click
UploadtoAdd filesand/orAdd foldersClick
Uploadat the bottom of the page. (Note that S3 bucket can accommodate any type of file.index.html file uploaded.
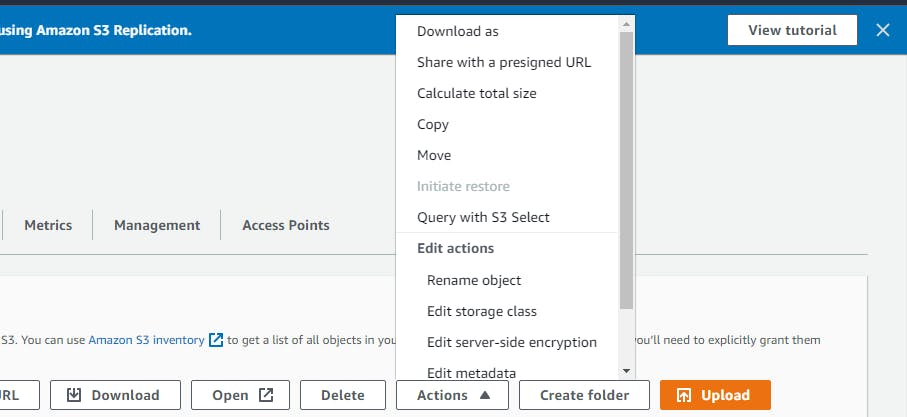
You can Click on the file you have uploaded, drop down the Actions menu for all the options available for the uploaded file eg edit name etc.
Click on the
bucket nameand navigate topermissionsClick on
Edit bucket policyI generated my policy here
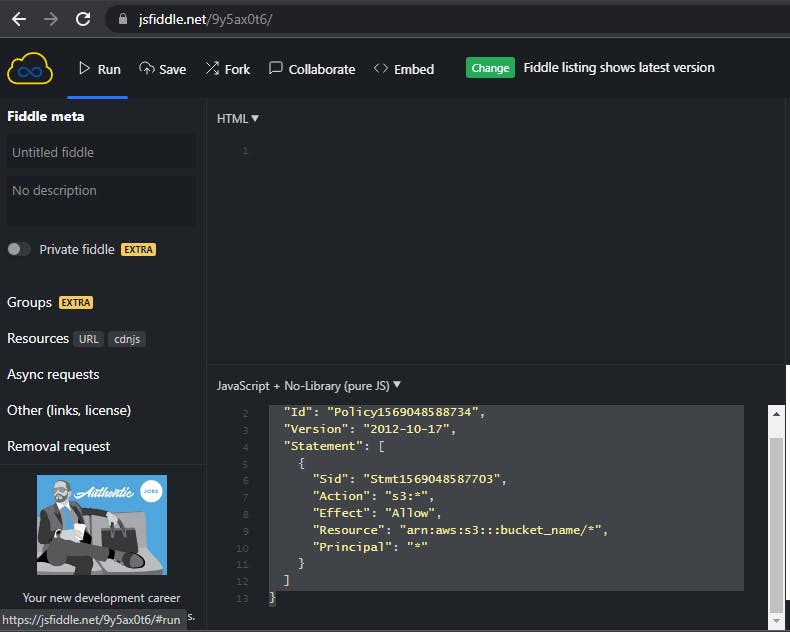
Copy and paste policy
Click on
save changesNavigate to
PropertiesClick on
Static website hostingClick on
Editand write the name of the file you uploaded (in my case, index.html, there is provision for erorr.html this will serve as an error message to your users. It is however optional.Copy the url at Static website hosting
Step 2. Create a CloudFront Distribution
- Search for CloudFront
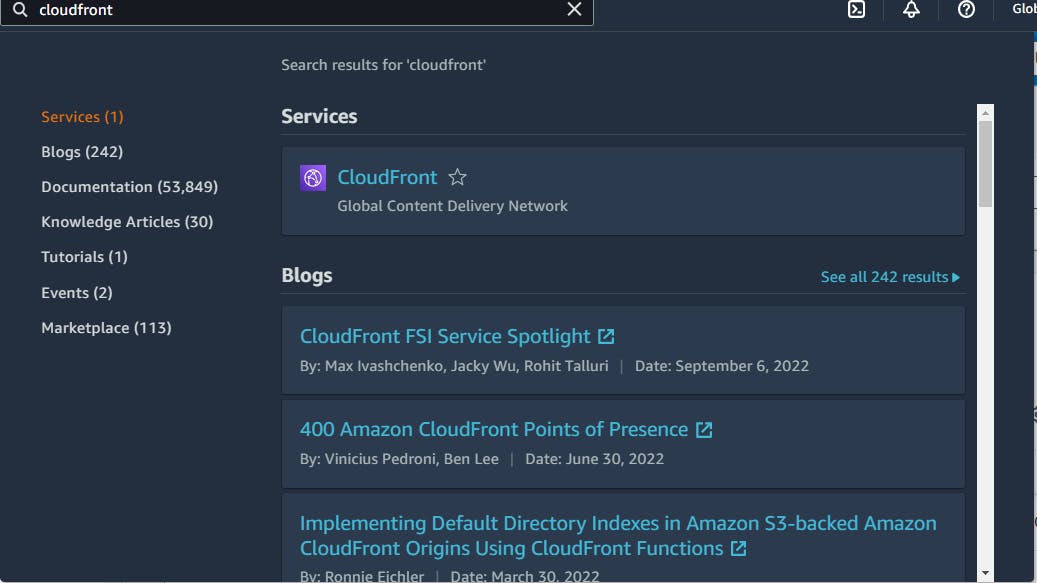
- Click on
Distributionon CloudFront dashboard
Origin domain
- Paste the url from s3
Default cache behaviour
Click on redirect
HTTP to HTTPSClick on
Create distribution
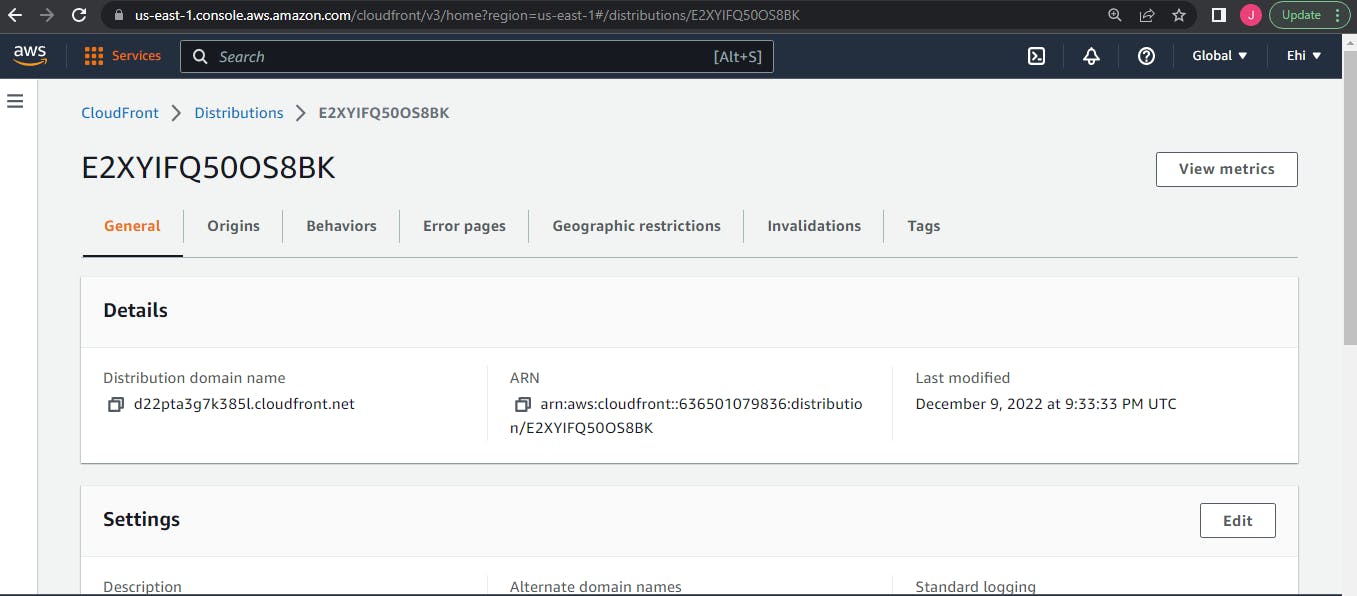
- Copy and paste the Distribution domain name on your browser
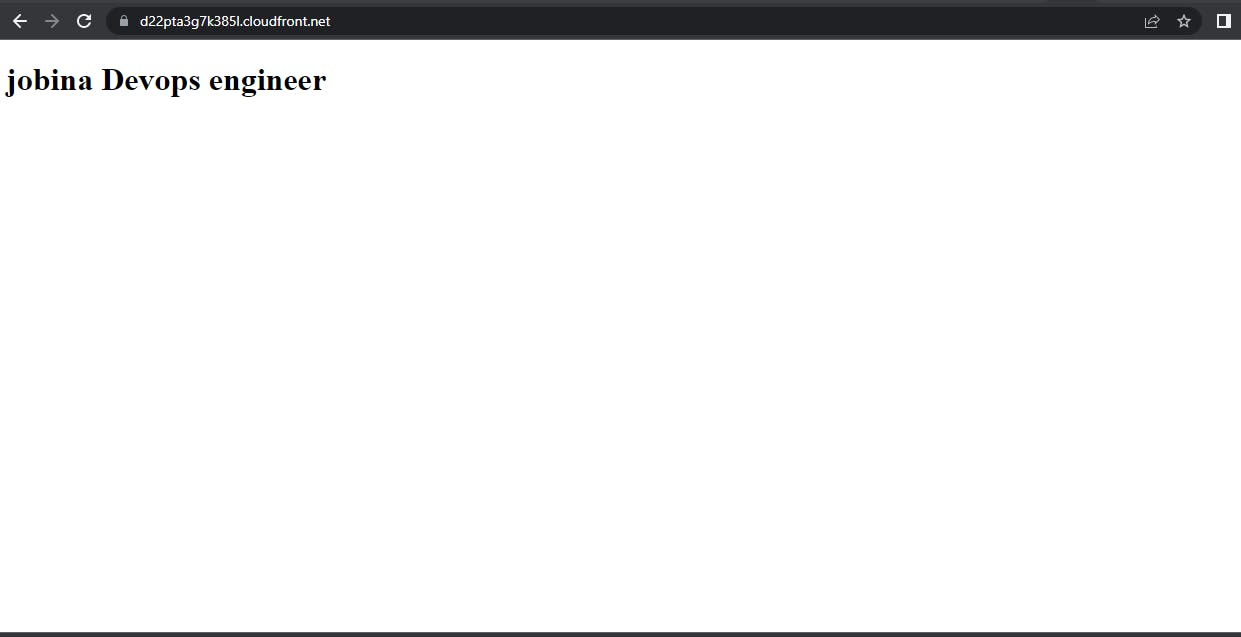
✨✨✨